Under Stairs Playhouse With Cedar Shake Shingles
Submitted By Joy 2 Journey
I was working on a project that is near and dear to my heart and I am so excited to show you some of the progress I have made. My goal is Christmas! Sounds easy? Normally it would be but we have a couple of weeks where I won’t be able to work on it, Thanksgiving, family in town, and all things Christmas. I am limited to just a day on the weekends which is why I am up late. I get on a roll and I almost can’t stop. I only did tonight because all 3 of my cordless batteries are charging. Ugh!
So let’s get to the photos shall we?!

So, I was only using this space to read and I can read anywhere right? I had been toying with the idea of an under the stair playhouse for awhile and since I have an idea of what I envision but, I didn’t find any plans that I could use, I did what any sane woman would do. I started cutting holes in the wall…
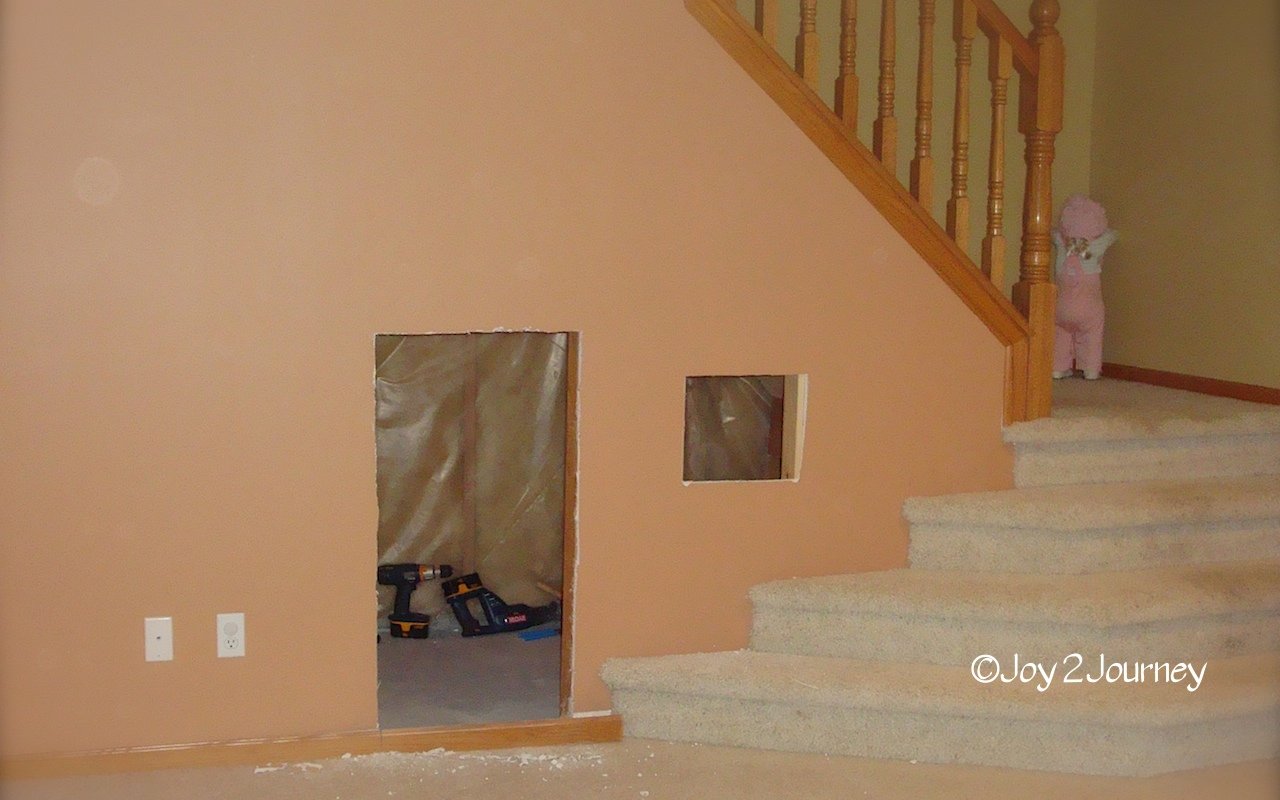
Well, I guess with two holes in the wall I am committed to continuing. I have an amazing Mr. Man! I sent him this picture of what I just did and he didn’t panic at all!!! I think I am desensitizing him with all my DIY projects. *giggle* Since I am making this from scratch, and I am having to think it through as I go, I had to remake a couple of things when it was not what I had pictured in my head.
(I will make a blooper section when I get to the end. Everyone could use a little laughter!)
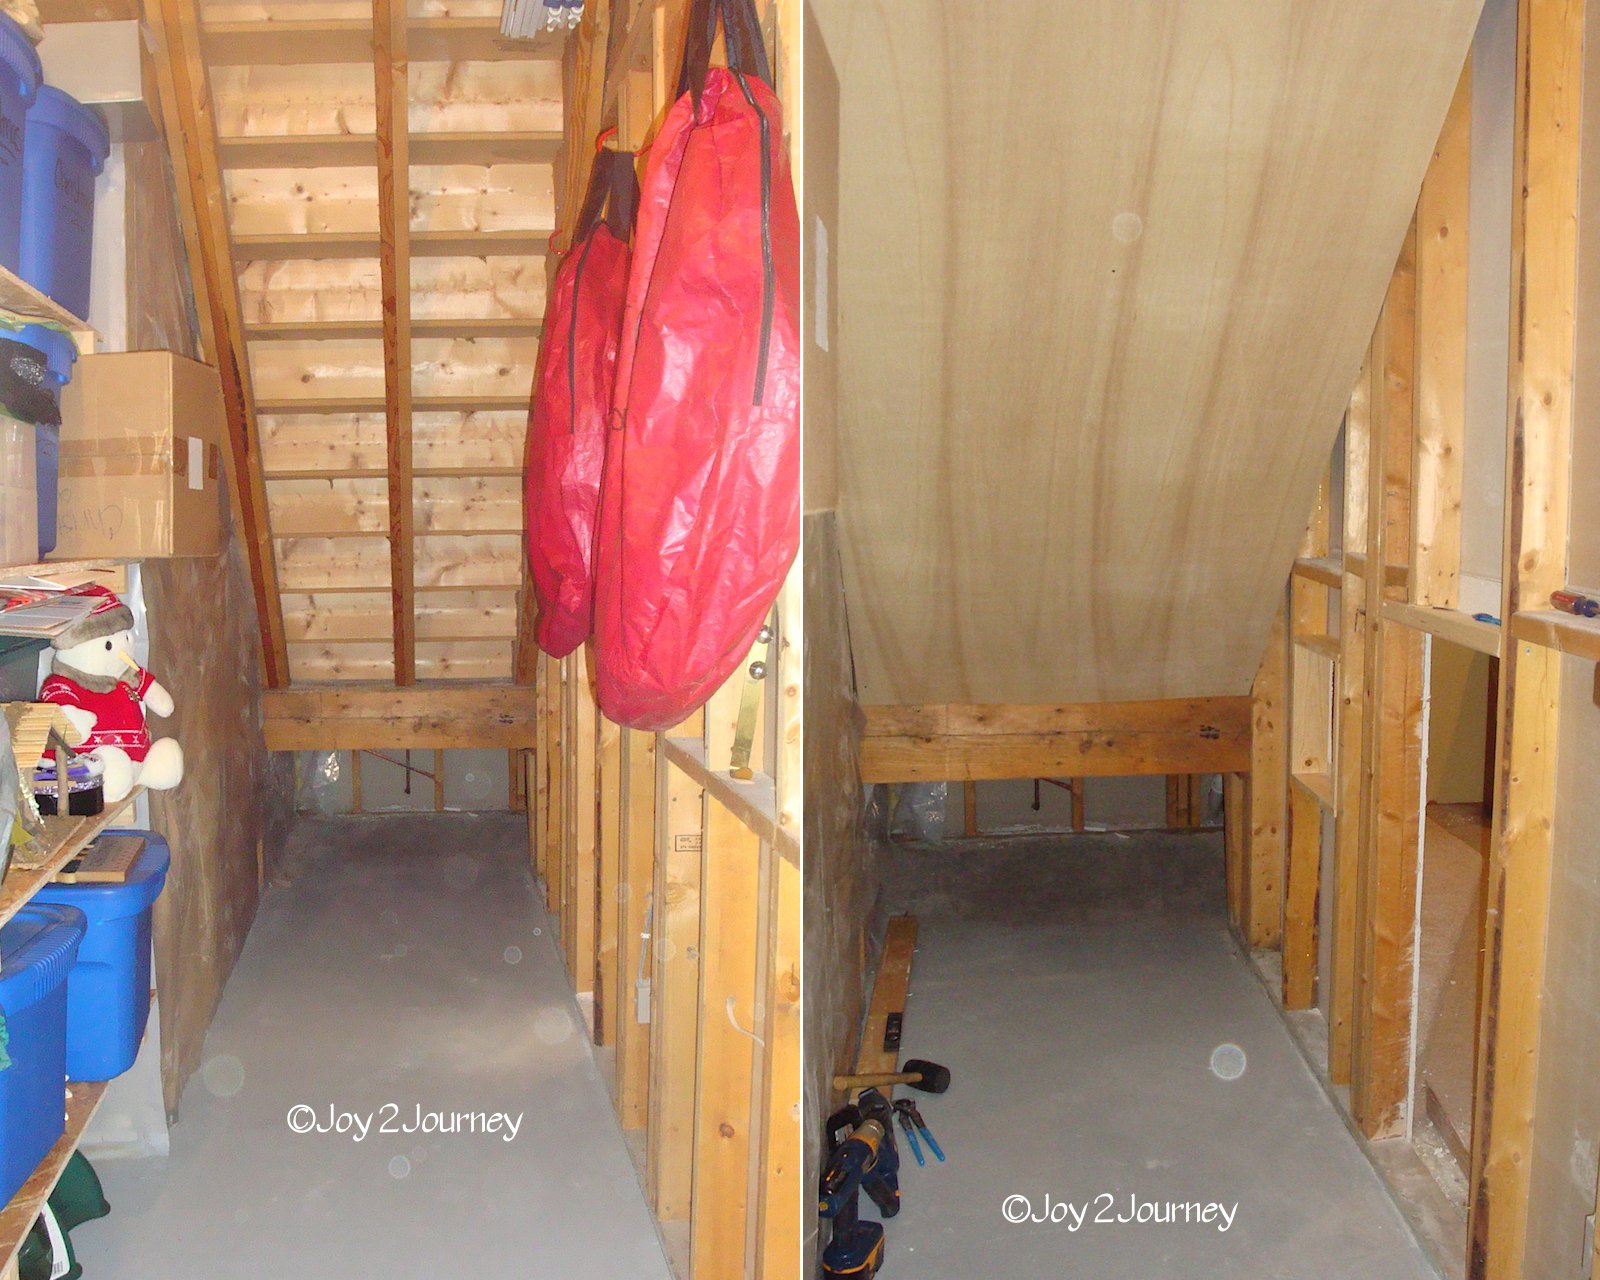
One of the first things I did was to put up this plywood (no chemicals thank you. Not with my grandbabies!) because I felt creepy having the stairs exposed. Yay, I have a roof Well gee, that was easy.
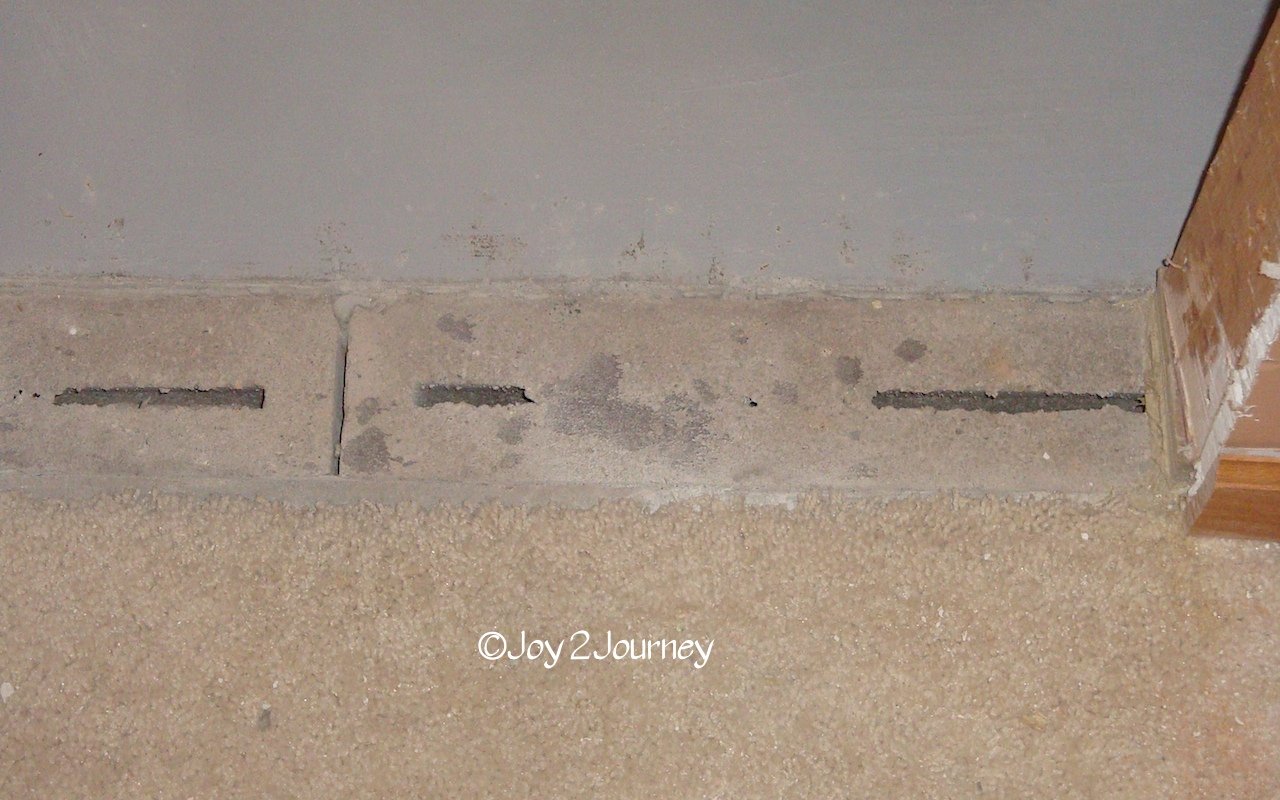
I ran into a slight problem when I cut out the board to make the door way. Um, open brick, GREAT! No worries, I just need to make a threshold. (I looked down in it first, with my flashlight, and it was filled with cement. Just not to the top.) I cut wood, added “Power Grip” and then added my “carpet to wood strip”. It worked out great.
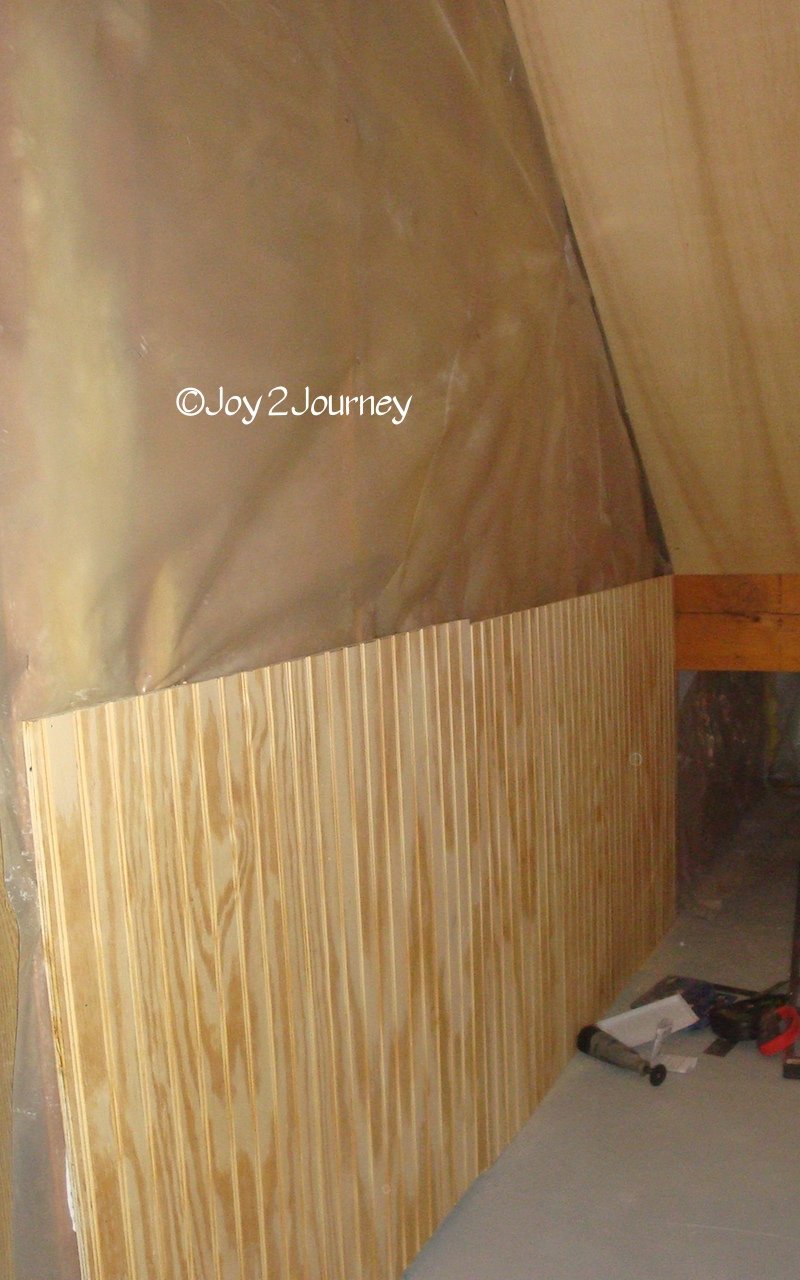
I wanted to feel as it it was going good so I cheated and put up this lower wall board. There will eventually be a molding and something special on the top. I don’t want to get ahead of myself on what is to come so let me get to the final picture.
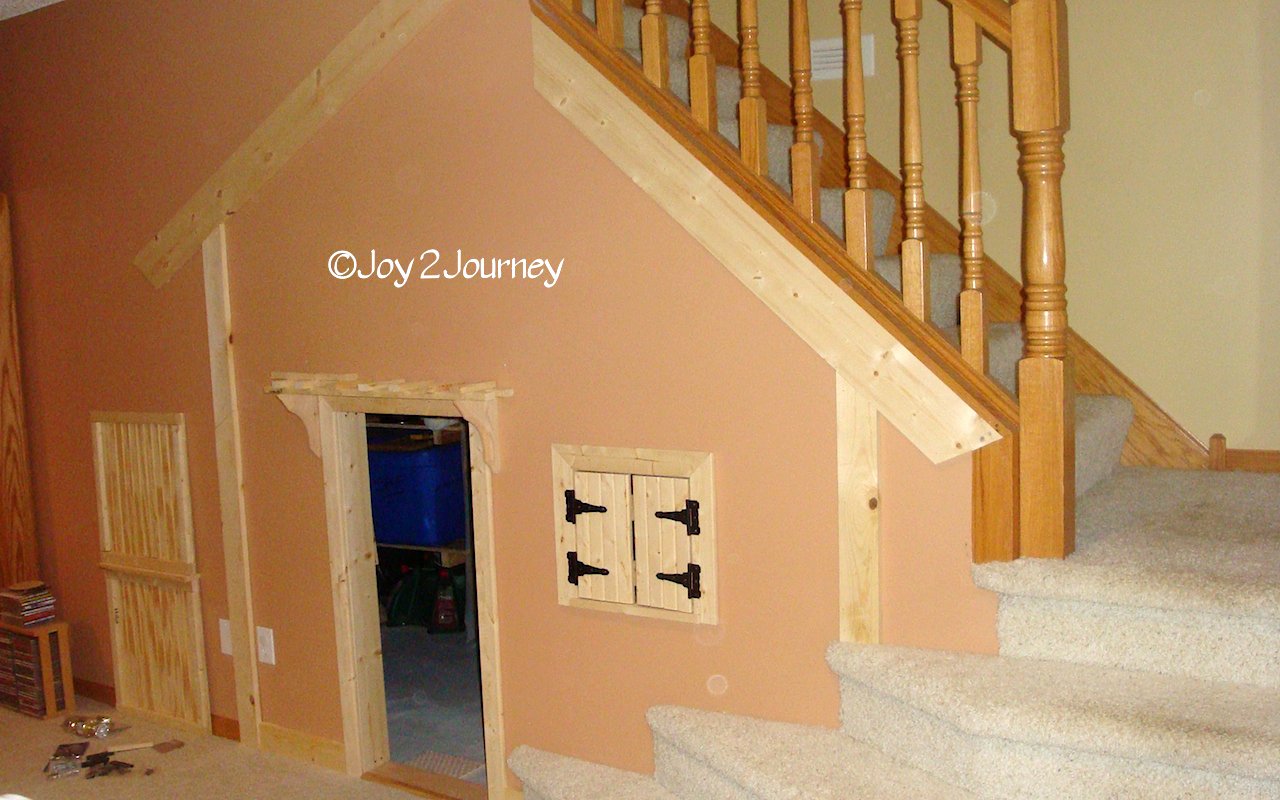
Ok, so here is what it looks like so far … We have a roof line. One side slightly higher as I am toying with the idea of a loft and then there would be a window. *Stay tuned on that one. I finished the shutters for the window and they are closed for the moment so that you can see how I attached the hinges. I am making a small covered porch over the door way and the Dutch Door is to the left waiting to be painted and hung. I have a lot of painting of the trim before I can add the cedar shingles to the front. Oh, and I still am adding a flower box under the window. Still a work in progress! I hope you are enjoying this as much as I am!
I had a run in with some plywood in Home depot and had to have stitches. You can see the account of that story here. Needless to say, I had to heal a bit and then I had to finish the inside by Christmas Eve, which meant I spent quite a bit of time inside. And that meant limited time on the computer. I know, I know, you missed me!
I am thinking I will just show you the series of pictures and talk more about specifics later if you want them … Ready?
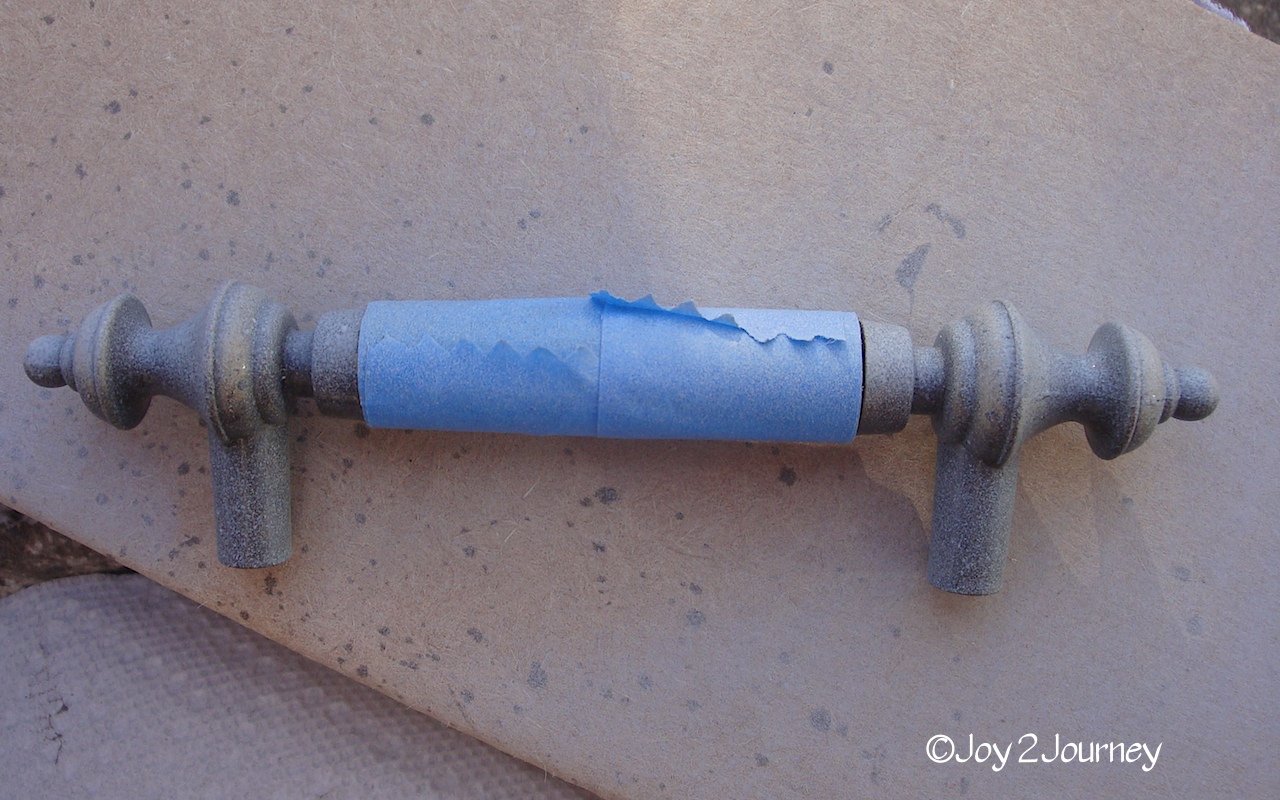
Up-cycling old hardware (tape and prime first)
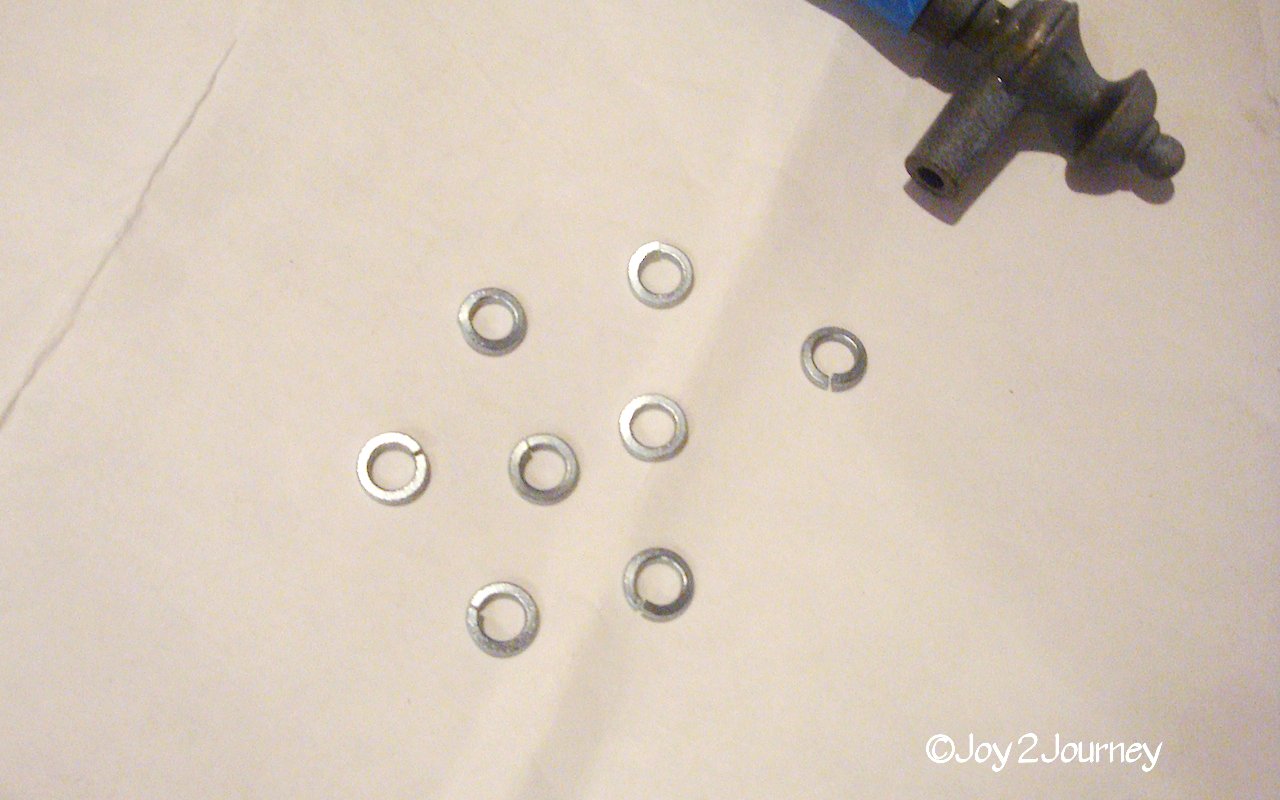
Spray painted black along with washers that needed to be black. (Attached to the windows.)
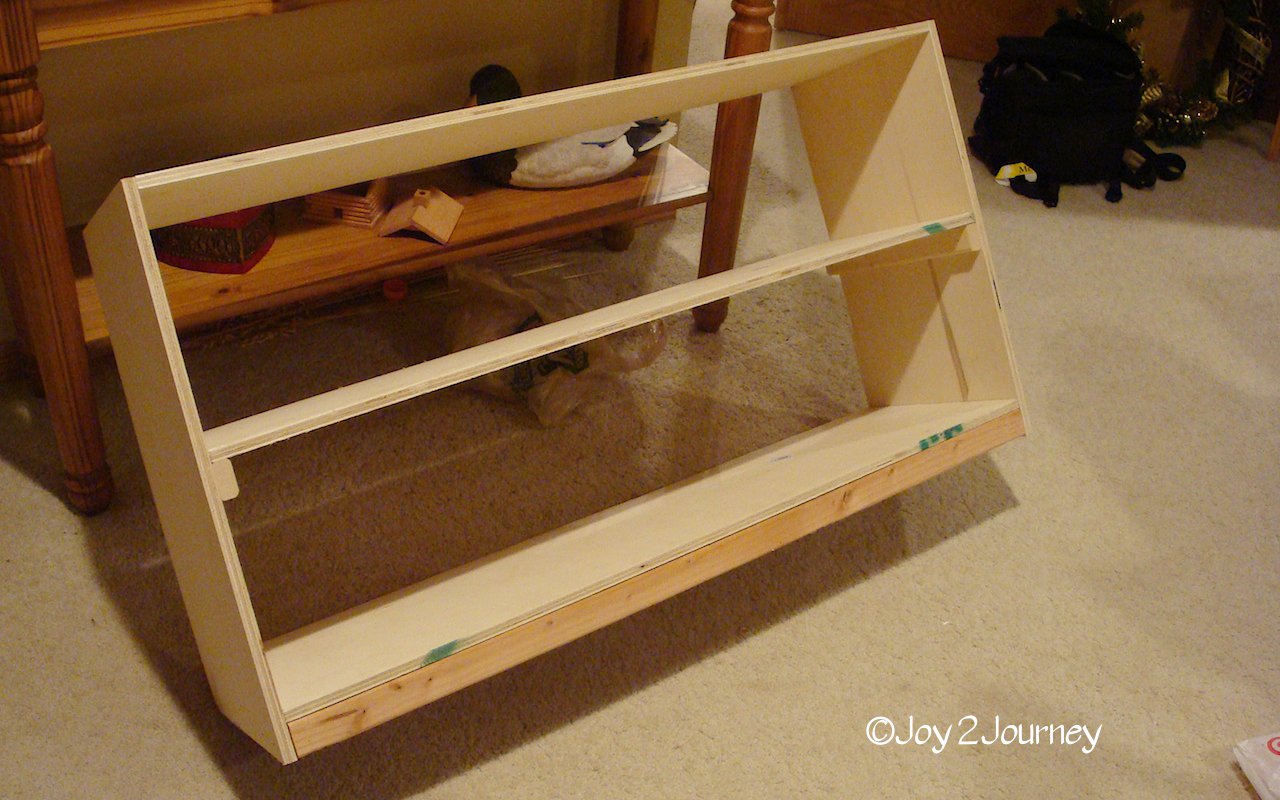
Made a built-in bookshelf to hold toys, books, and puzzles.
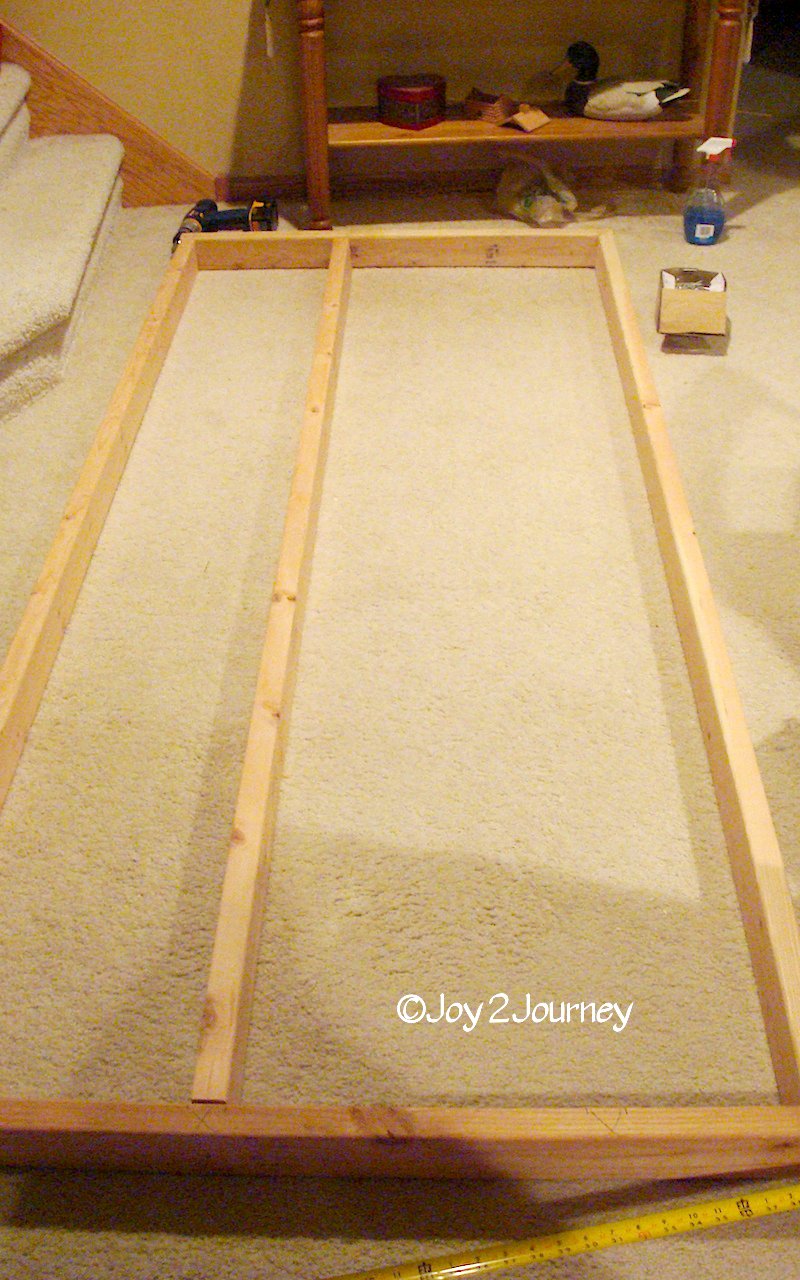
Constructing the inside wall.
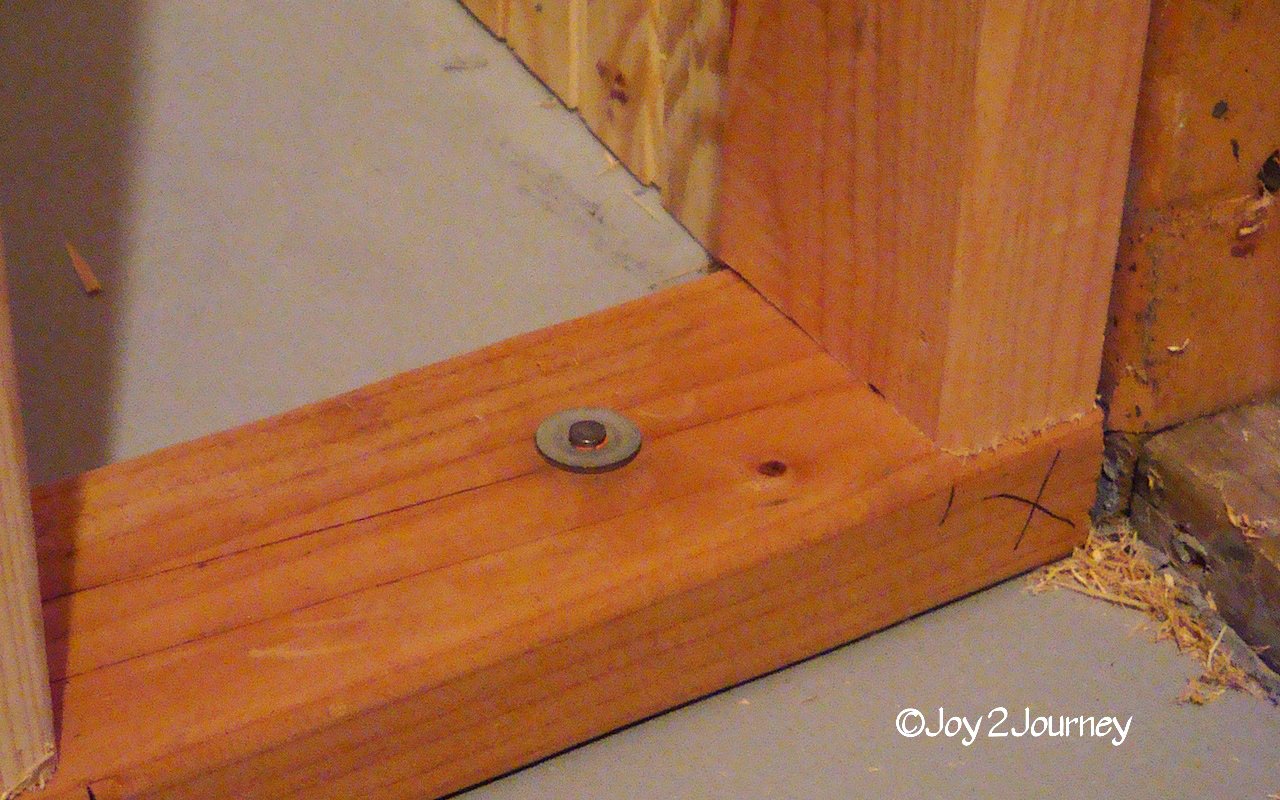
Nailing it into the cement
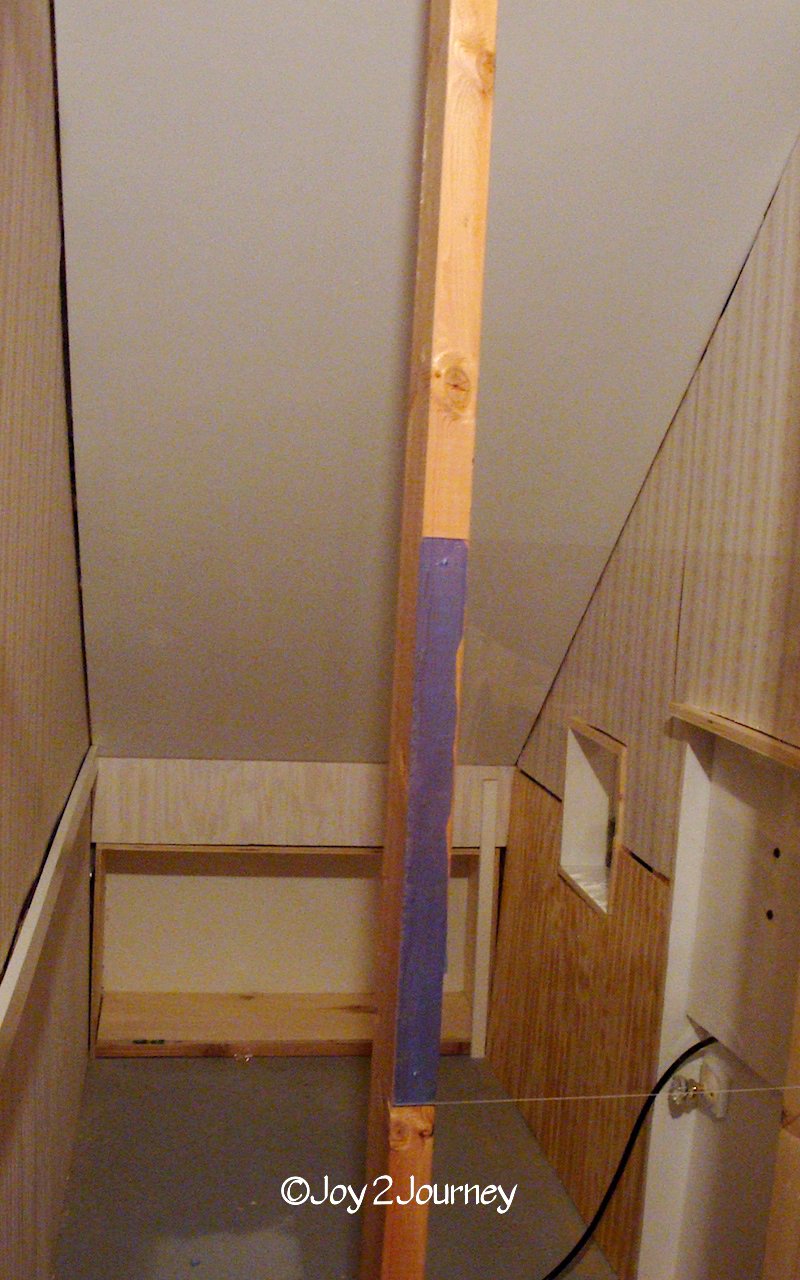
Making a window
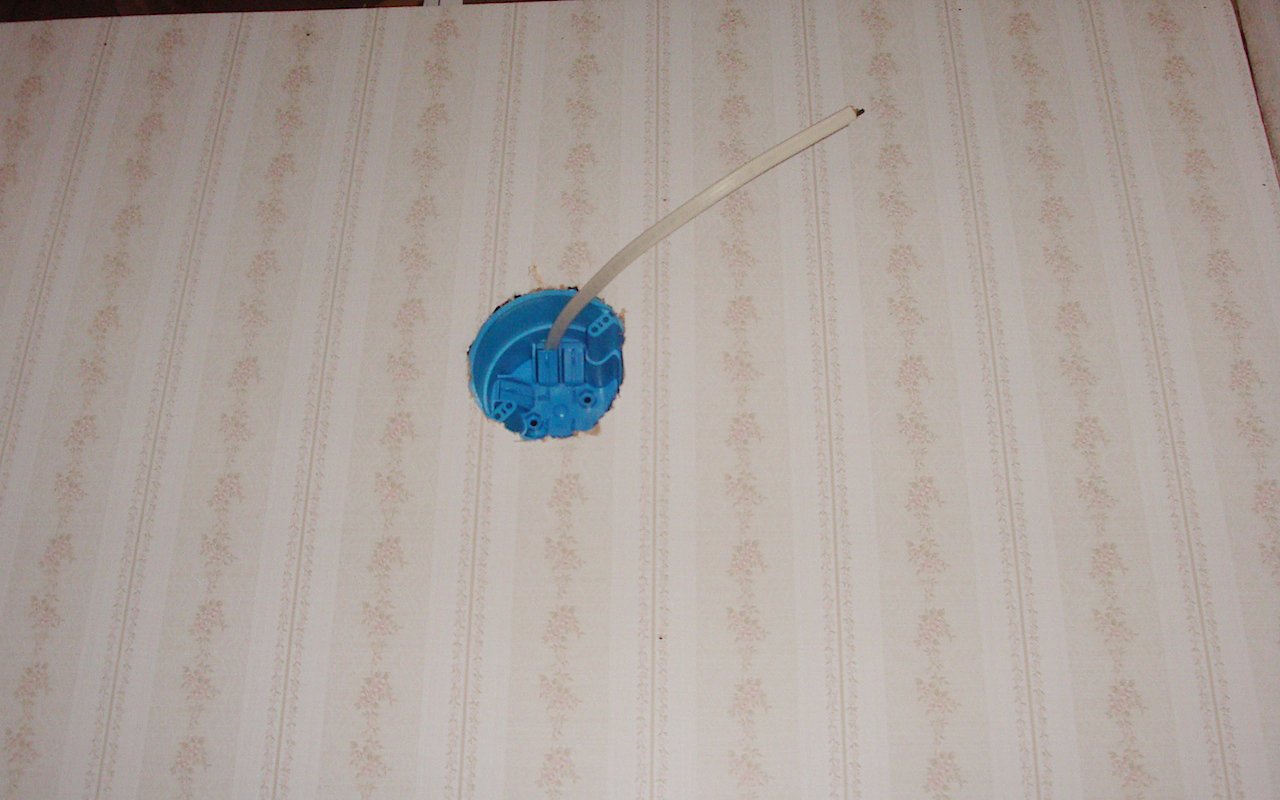
Running electricity for a light … yup, I did that too
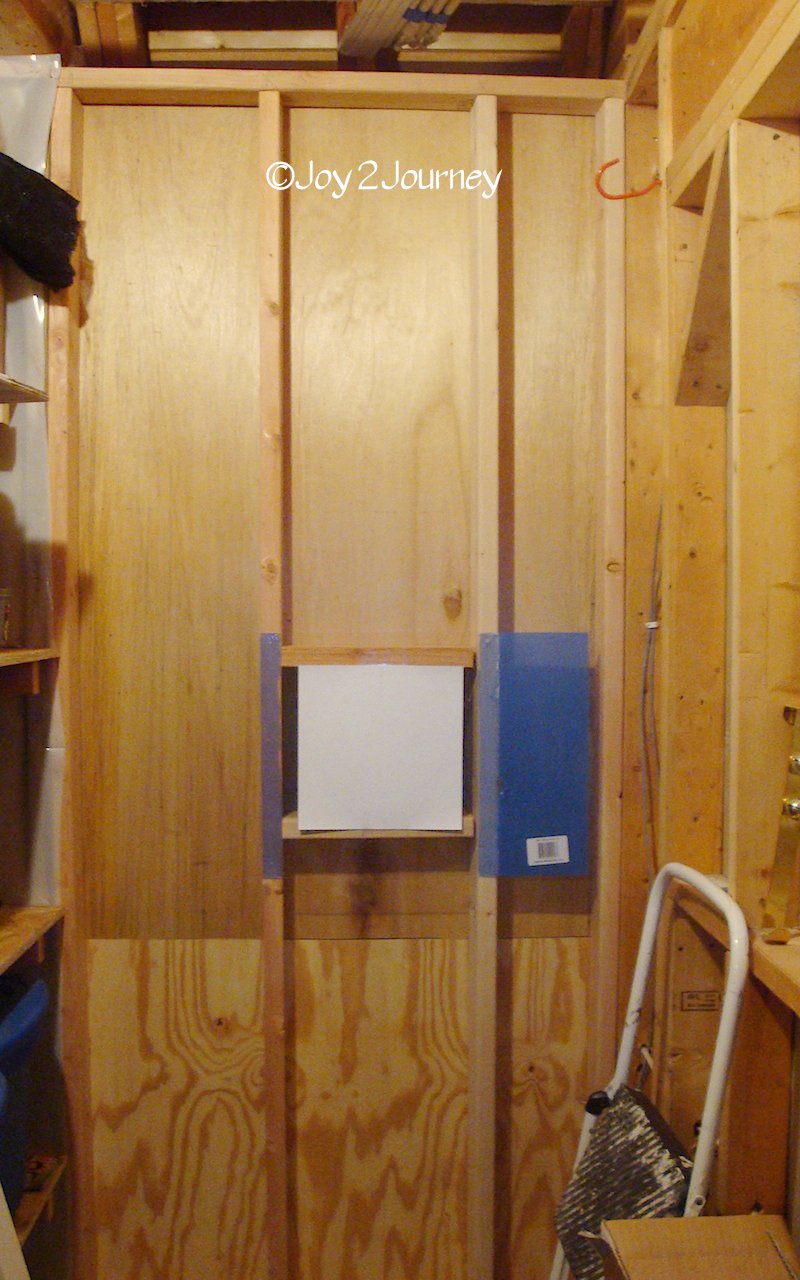
Finished off the inside.
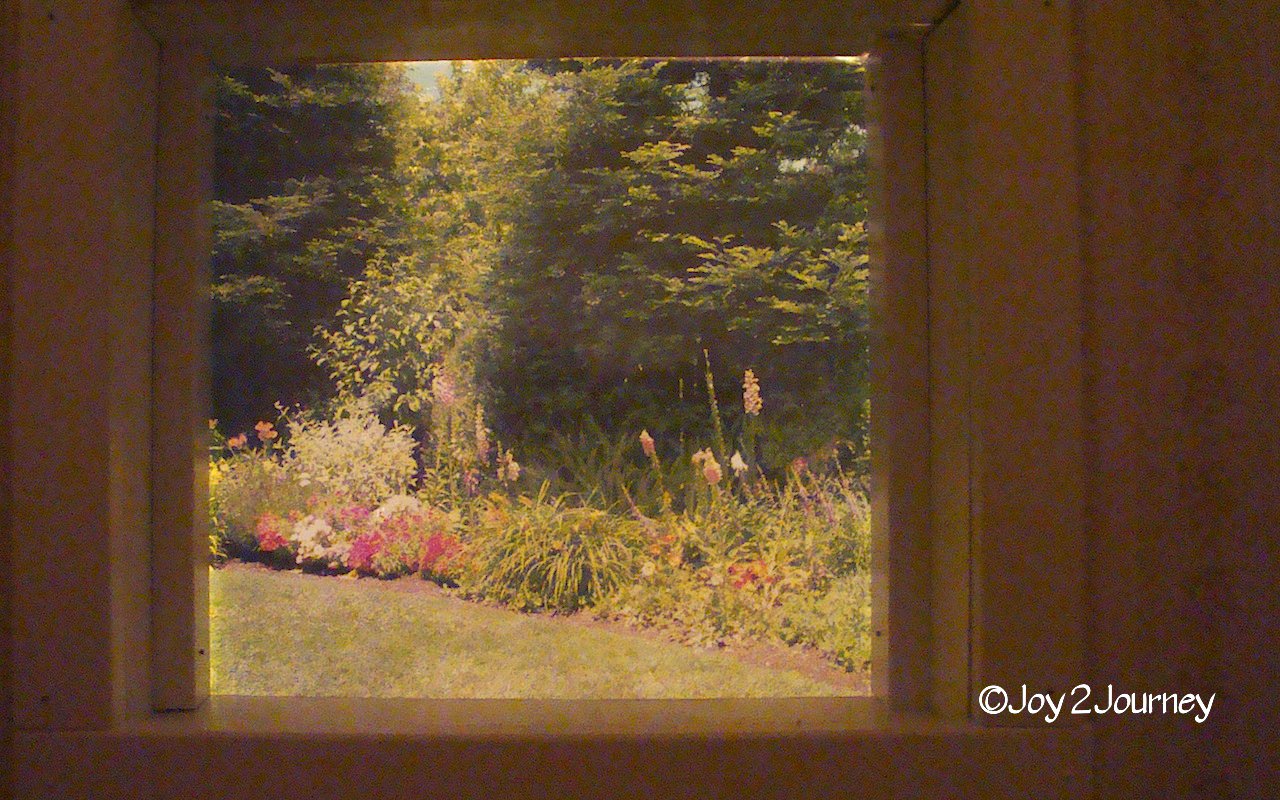
This photo doesn’t do this little window justice. The picture I used for her outside view is actually the garden area that I got married in. It is just adorable and I will have to take another picture of this now that she has a light in her playhouse.

Are you ready to see the final pictures???? I am so excited …
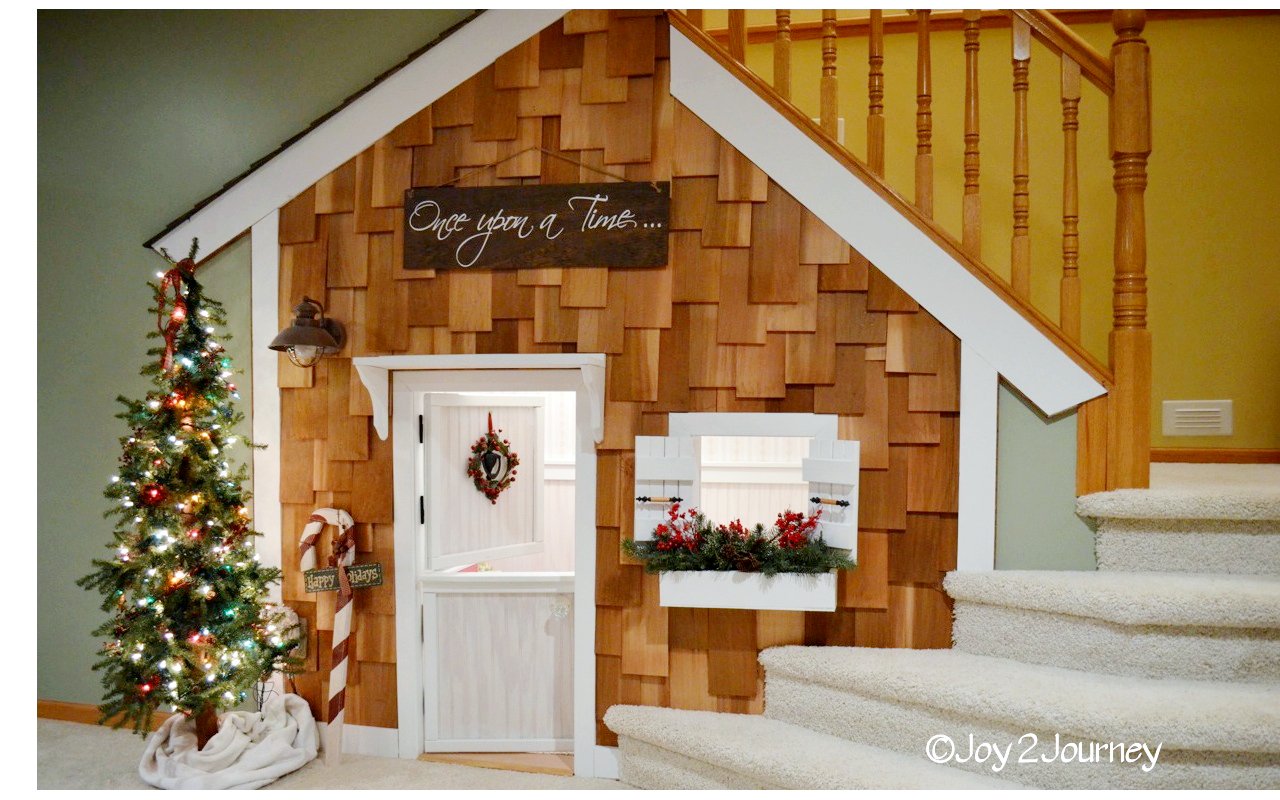
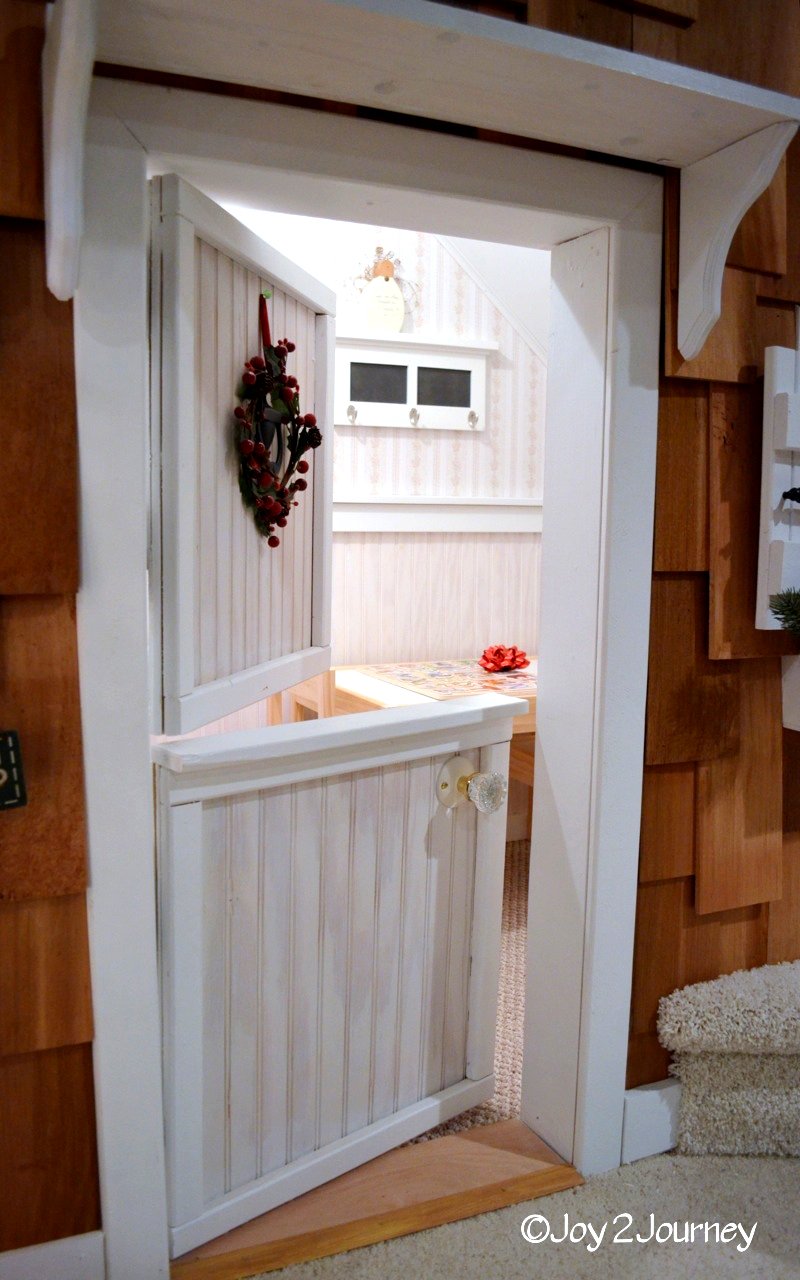
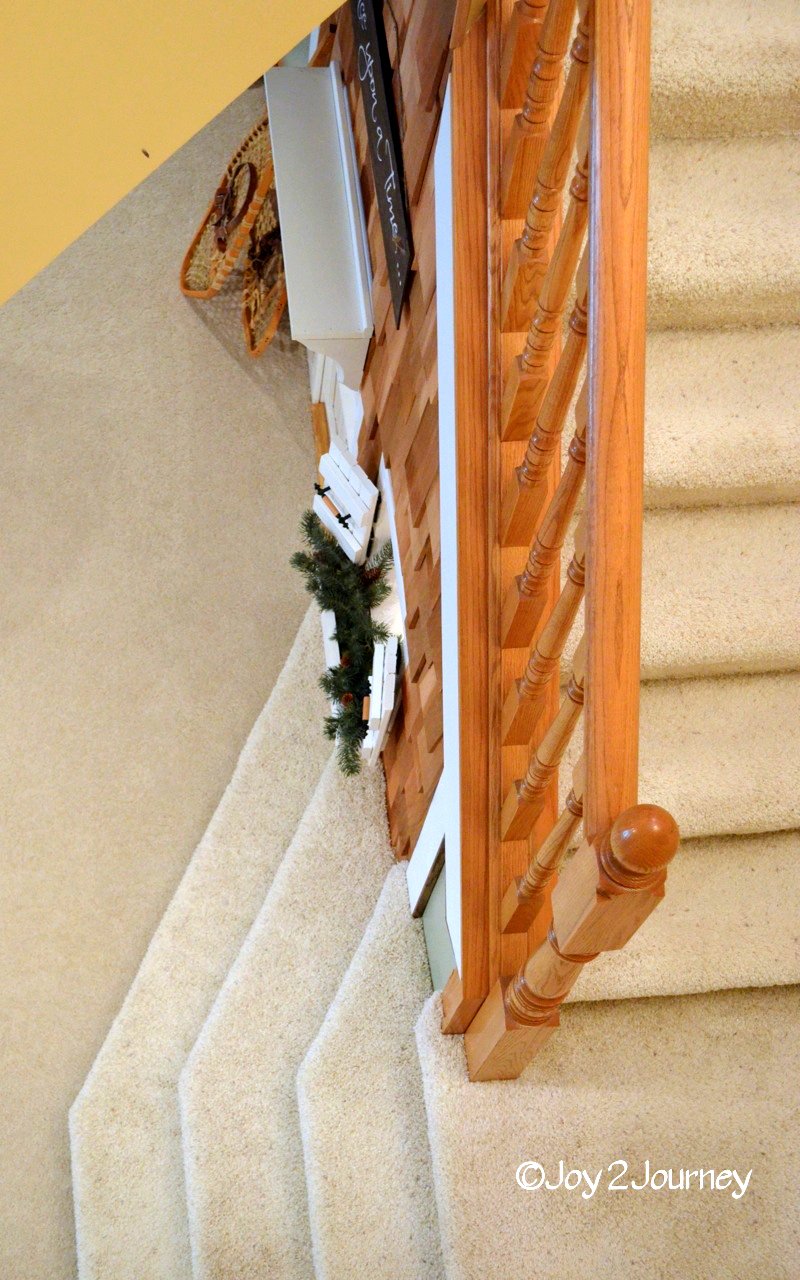
And one of the things I like best? I can look down from upstairs and see it.
Here are a few more recent pictures of the play house! Interior:


Exterior:
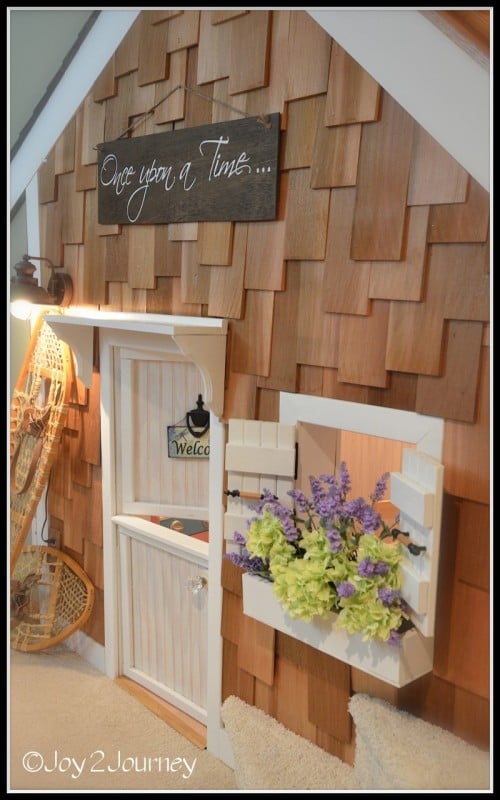


Original article and pictures take www.remodelaholic.com site
Комментариев нет:
Отправить комментарий